File uploading
This guide walks you through setting up file uploads in your SaaS.
Two recommended approaches
- AWS S3 with presigned URLs - secure, scalable storage; ideal for growing apps. (Recommended)
- Multer (server uploads) - send files to your server via middleware; fine for small files and low scale.
Which to choose?
Go with S3 + presigned URLs if you want durability, security, and room to grow.
If you only need occasional, small uploads and don’t expect big scale, Multer on your server is enough.
Using AWS S3
How presigned URLs work:
- Client asks the server for permission to upload a file
- Server generates a time-limited presigned URL using its AWS credentials
- Server returns that URL to the client
- Client uploads directly to S3 with the presigned URL before it expires
This keeps your AWS credentials on the server and avoids piping file data through your app server.
Create an AWS account
Create a root account, then create an IAM user for your app. Follow an external guide that walks through IAM users and S3 buckets.
Create an S3 bucket:
- Navigate to the S3 service in the AWS console
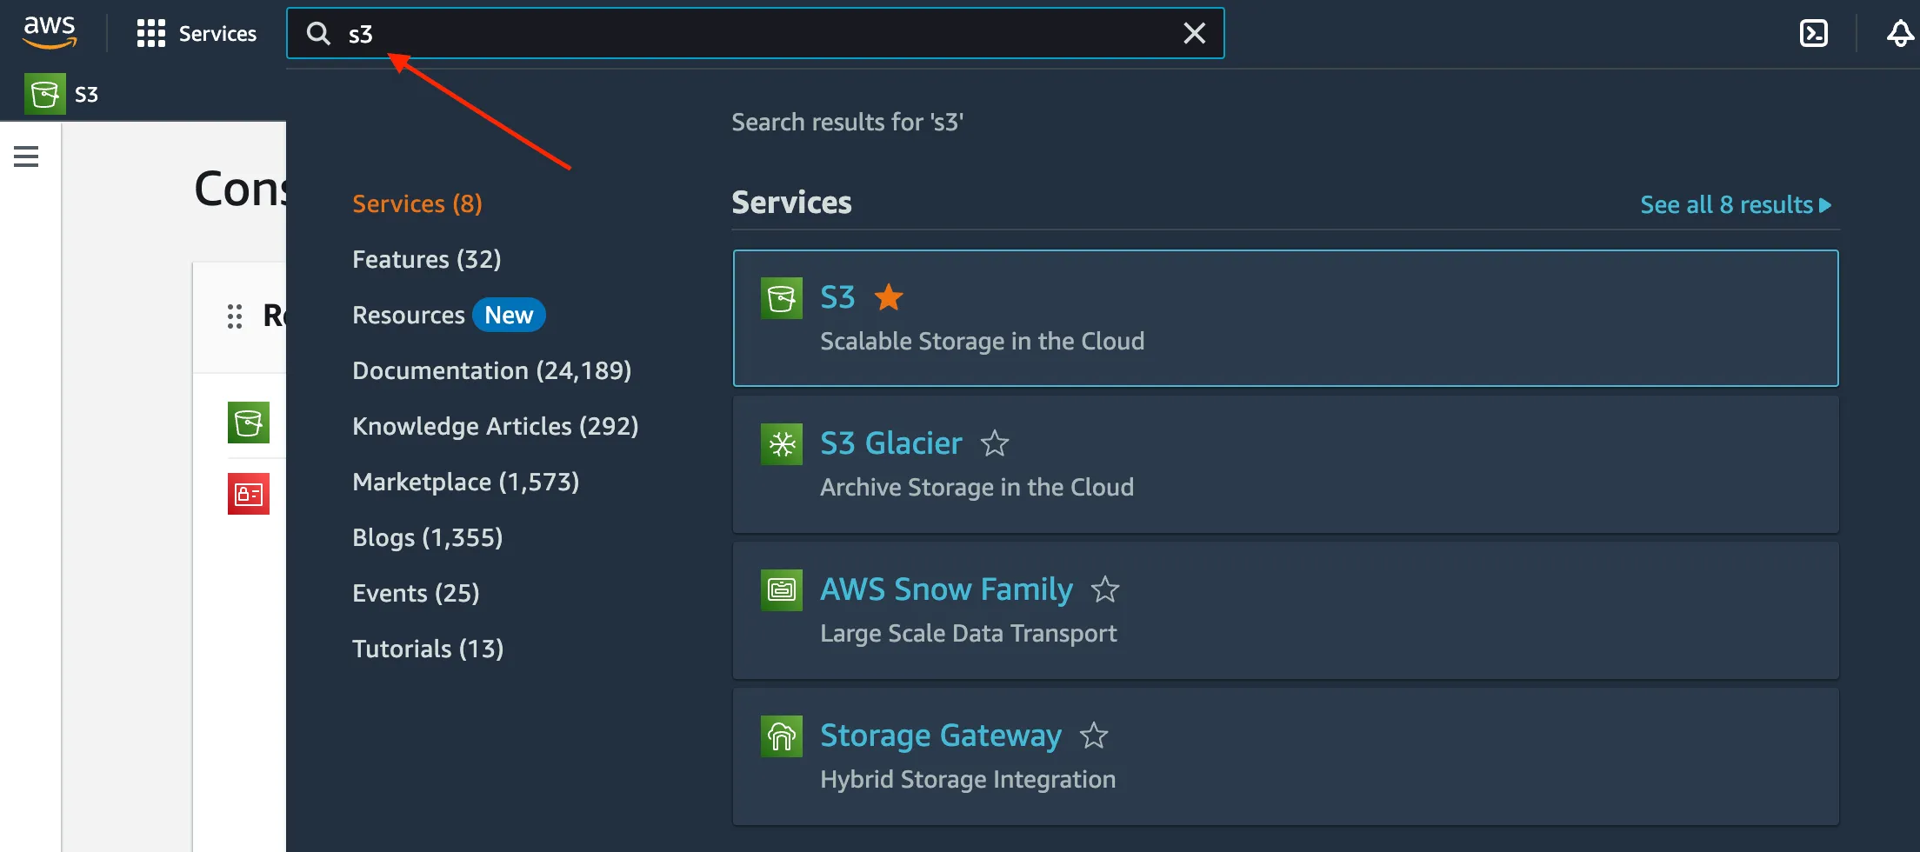
- Click Create bucket
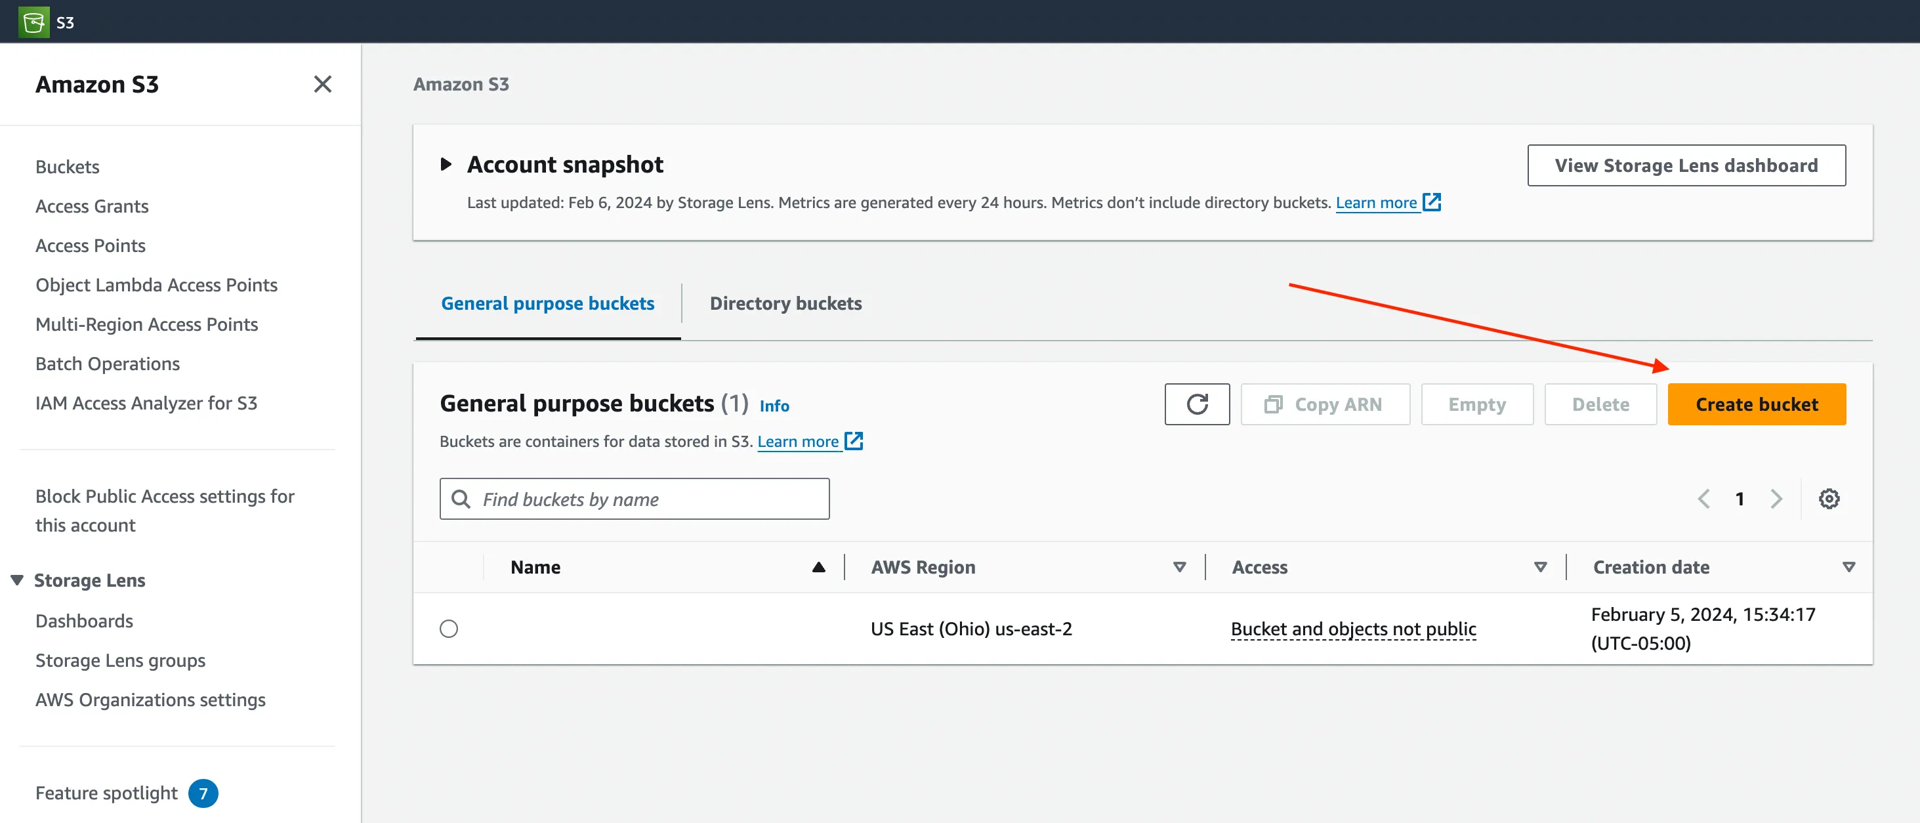
- Enter bucket name and region
- Leave other settings at defaults, then click Create bucket

Change the CORS settings:
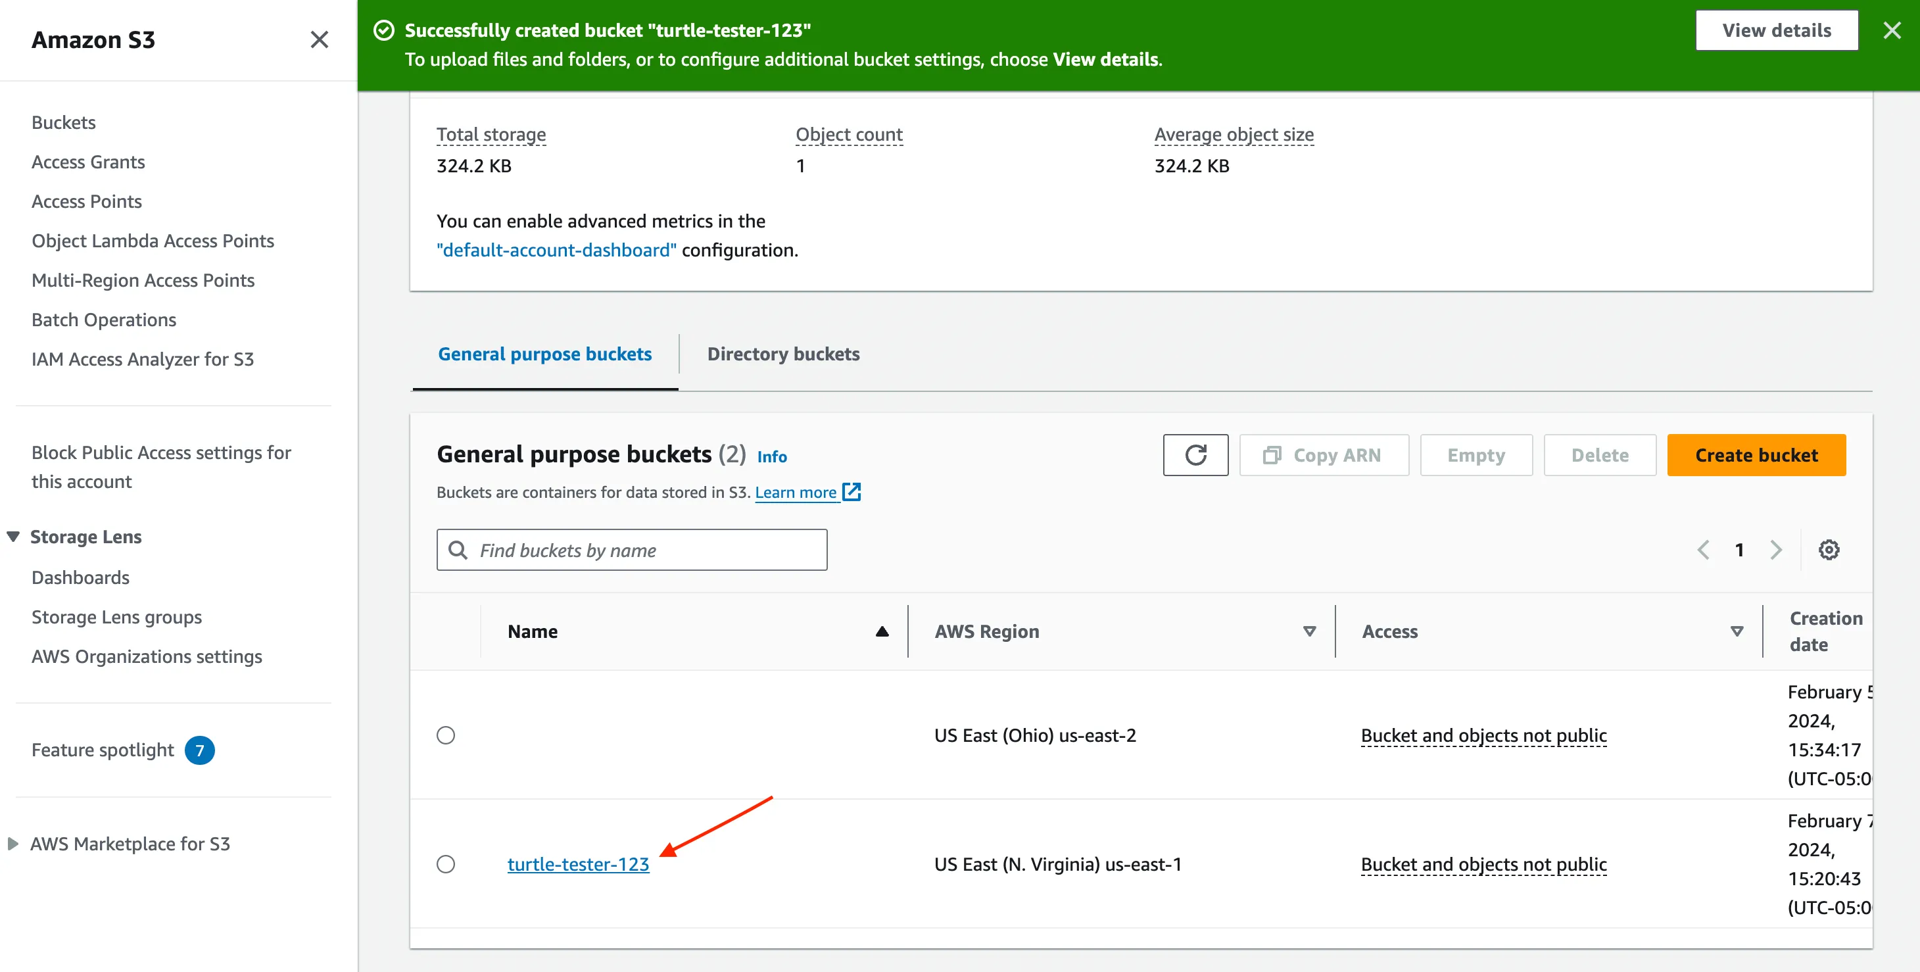
- Open the bucket you just created
- Go to the Permissions tab
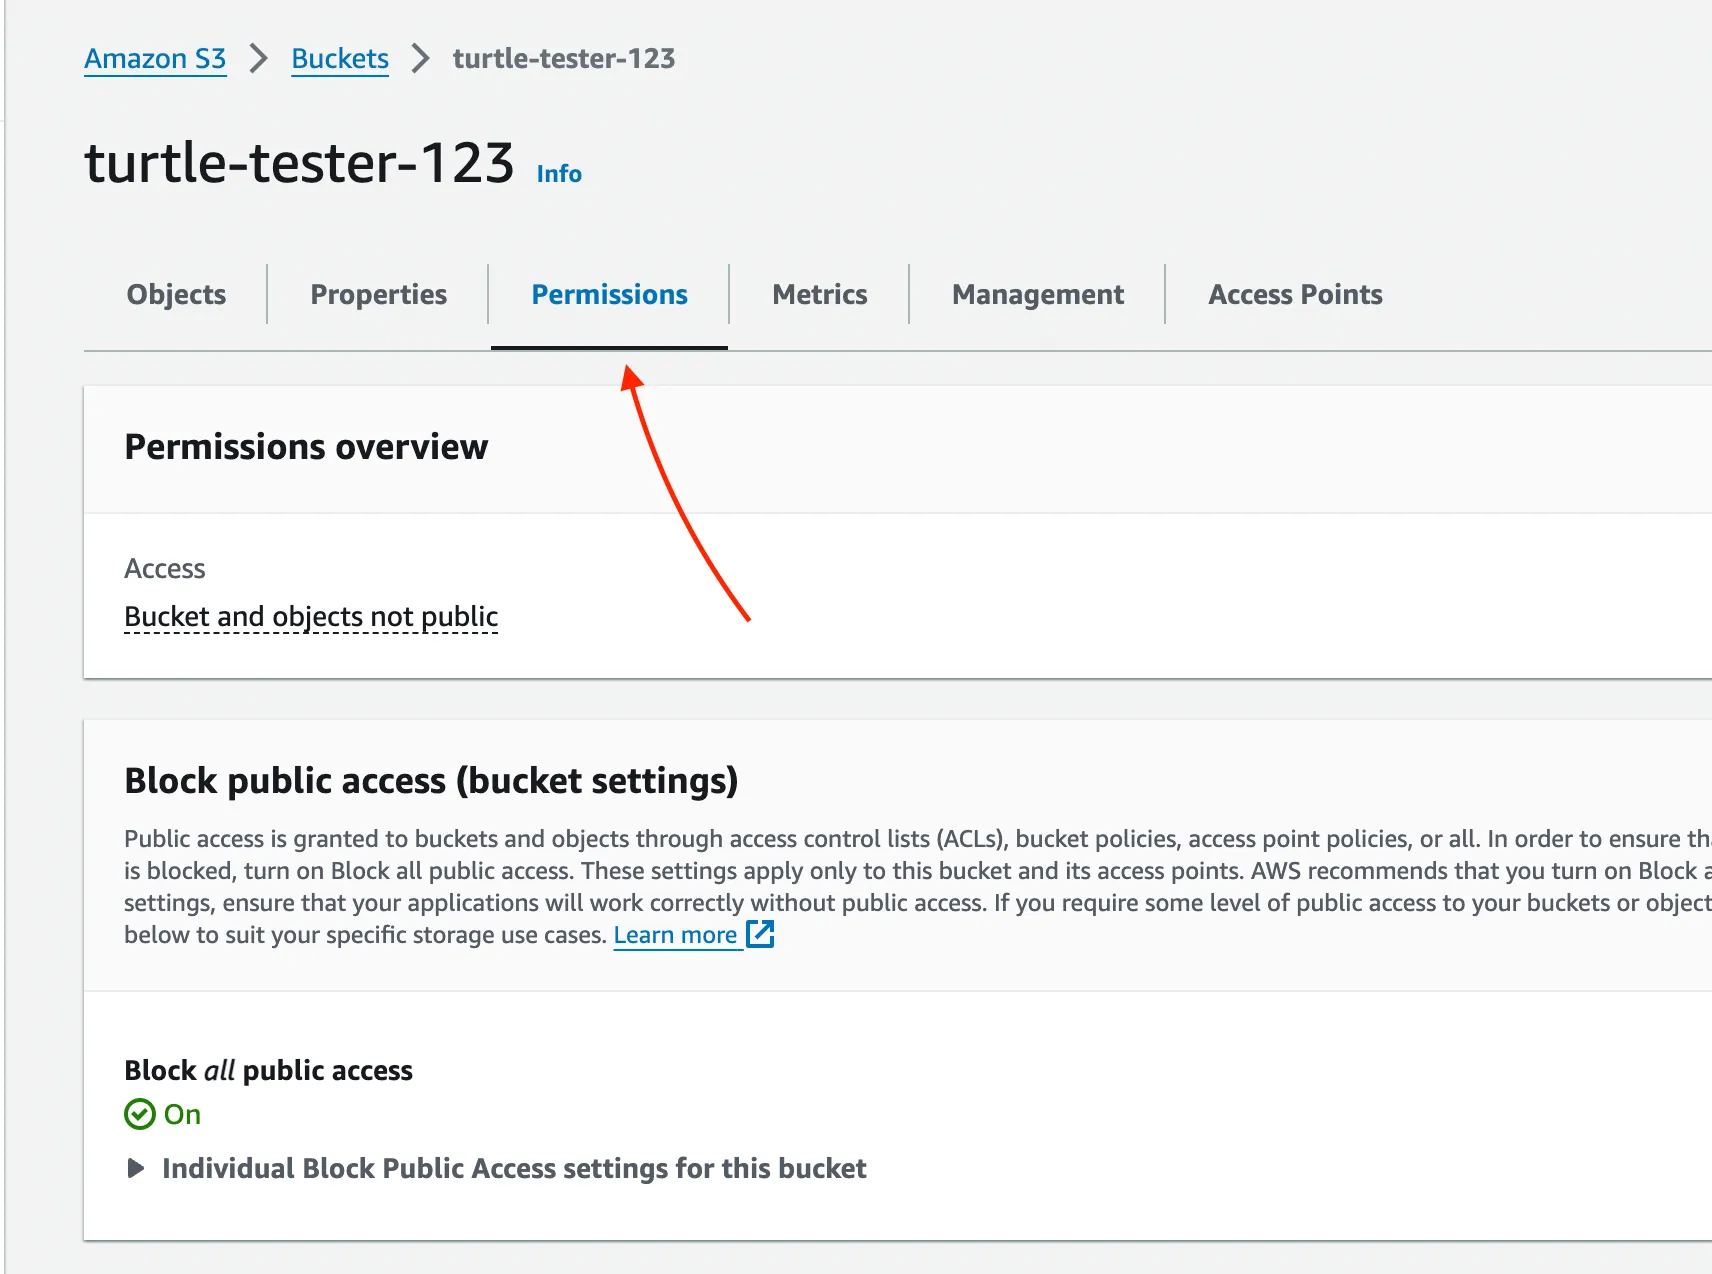
- Scroll to Cross-origin resource sharing (CORS) and click Edit

- Paste the config below and click Save changes. Update
AllowedOriginsto fit your app. Includehttp://localhost:3000for local development andhttps://<your-domain>for production. If you do not have a domain yet, keep only localhost and add your domain later before production.
CORS Configuration
[
  {
   "AllowedHeaders": ["*"],
   "AllowedMethods": ["POST", "GET"],
   "AllowedOrigins": [
    "http://localhost:3000",
    "https://"
   ],
   "ExposeHeaders": []
  }
]
Get your AWS S3 credentials:
- Click your username in the top right of the AWS console and open Security credentials
- Scroll to Access keys
- Click Create access key
- Choose Application running on an AWS service and create the key
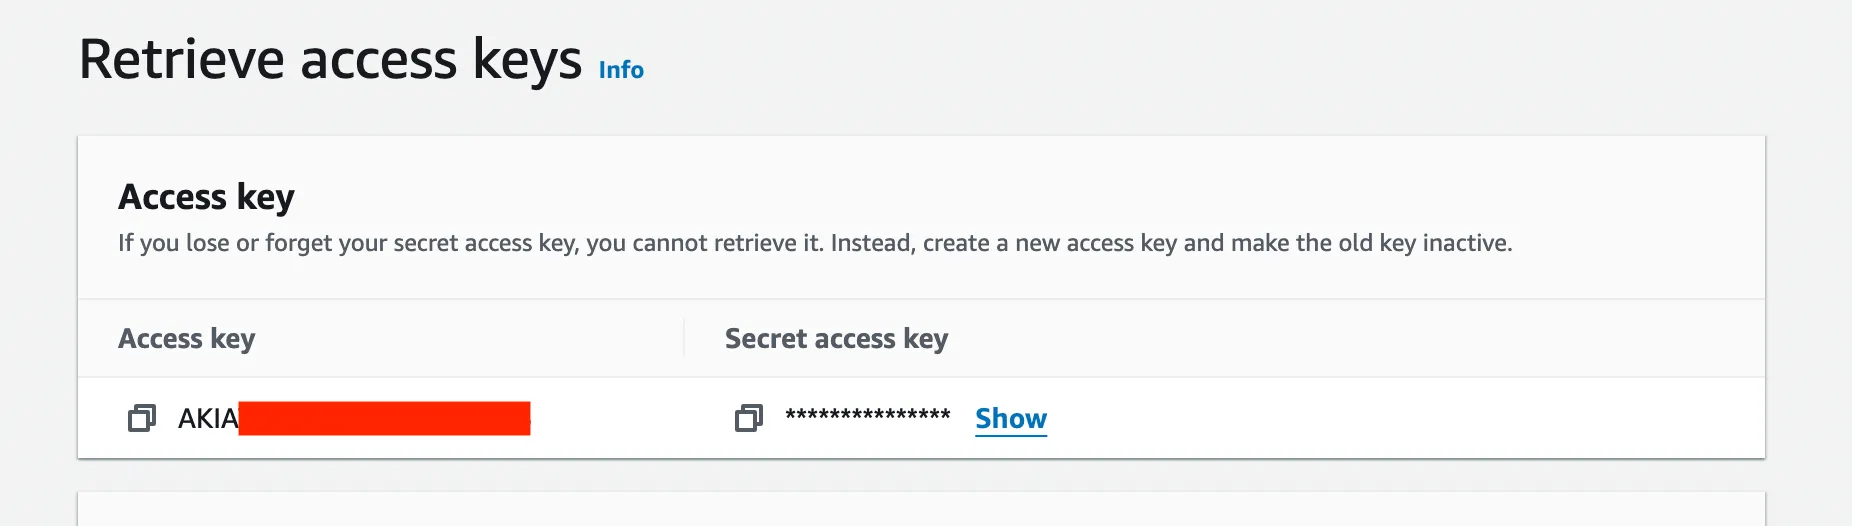
- Copy the Access key ID and Secret access key into
src/app/.env.server:
.env.server
AWS_S3_IAM_ACCESS_KEY=ACK...
AWS_S3_IAM_SECRET_KEY=t+33a...
AWS_S3_FILES_BUCKET=your-bucket-name
AWS_S3_REGION=your-region // (e.g. us-west-2)
[Content continues in next part due to length…]