Payments Integration
This guide will show you how to set up Payments for testing and local development with the UniBee payment processors.
Important First Steps
First, go to /src/payment/paymentProcessor.ts and add the following line at the end of the file. Be sure to comment out the other two payment processor implementations:
// export const paymentProcessor: PaymentProcessor = lemonSqueezyPaymentProcessor;
// export const paymentProcessor: PaymentProcessor = stripePaymentProcessor;
export const paymentProcessor: PaymentProcessor = unibeePaymentProcessor;
The unibeePaymentProcessor can be imported like this:
import { unibeePaymentProcessor } from './unibee/paymentProcessor';At this point, you can delete:
- the unused payment processor code within the
/src/payment/<unused-provider>directory, - any unused environment variables from
.env.server(they will be prefixed with the name of the provider your are not using):- e.g.
STRIPE_API_KEY,STRIPE_CUSTOMER_PORTAL_URL, LEMONSQUEEZY_API_KEY,LEMONSQUEEZY_WEBHOOK_SECRET
- e.g.
Make sure to also uninstall the unused dependencies:
npm uninstall @lemonsqueezy/lemonsqueezy.jsor
npm uninstall stripeRemove any unused fields from the User model in the schema.prisma file if they exist:
- e.g.
lemonSqueezyCustomerPortalUrl
Now your code is ready to go with your preferred payment processor and it’s time to configure your payment processor’s API keys, products, and other settings.
Get your test UniBee API Keys
From the sidebar, go to Developers > Integration Resources, then copy the values for Unibee Public Key and Unibee Base URL. Paste them into .env.server as UNIBEE_PUBLIC_KEY and UNIBEE_API_URL, respectively.
Create Test Products
Follow the documents from UniBee | Create Test Products and create a new Product and Plans as follows:
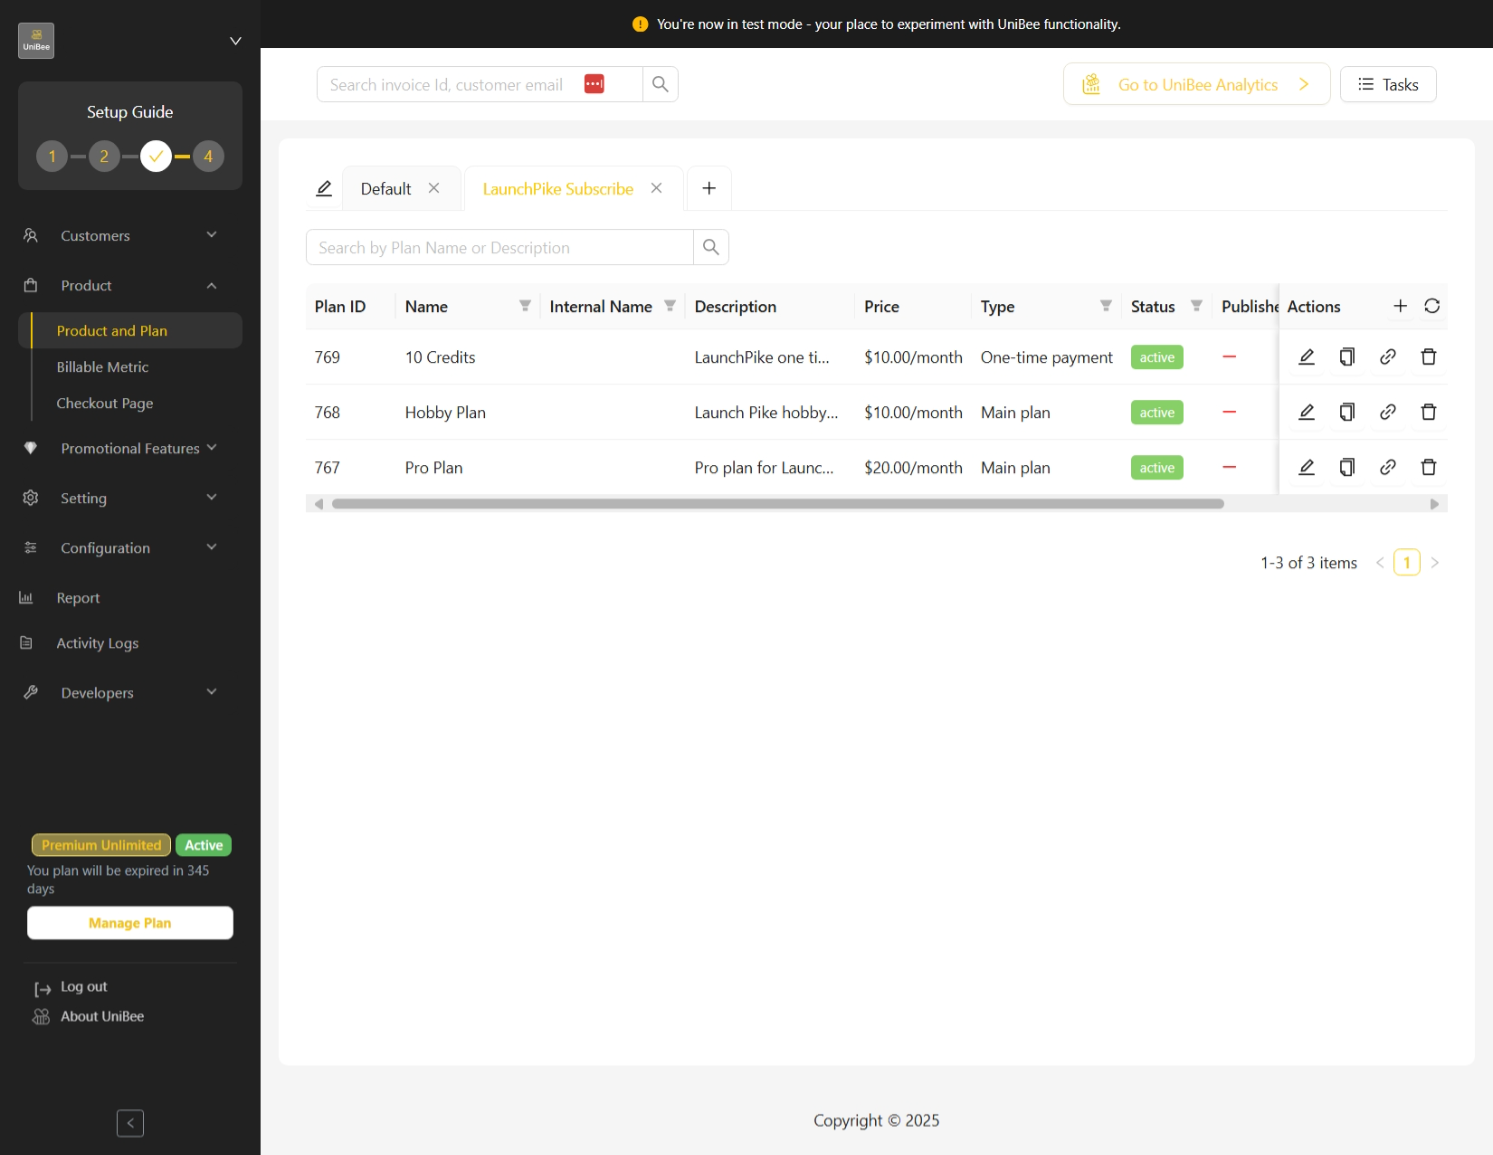
Copy the plan IDs and paste them in the .env.server file
We’ve set you up with two example subscription product environment variables:
PAYMENTS_HOBBY_SUBSCRIPTION_PLAN_ID=andPAYMENTS_PRO_SUBSCRIPTION_PLAN_ID=
As well as a one-time payment product/credits-based environment variable:
PAYMENTS_CREDITS_10_PLAN_ID=
Note: If you change the names of the price IDs, you’ll need to update your server code to match these names as well.
Set up the Customer Portal
Change the .env.server with the following value for UNIBEE_CUSTOMER_PORTAL_URL:
UNIBEE_CUSTOMER_PORTAL_URL=https://cs-sandbox.unibee.top/customer-portalCreate and Use the UniBee Webhook in Local Development
UniBee sends messages/updates to your Wasp app via its webhook, e.g. when a payment is successful.
For that to work during development, we need to expose our locally running (via wasp start) Wasp app and make it available online, specifically the server part of it. Since the Wasp server runs on port 3001, you should run ngrok on port 3001, which will provide you with a public URL that you can use to configure UniBee with.
To do this, first make sure you have installed ngrok.
Once installed, and with your wasp app running, run:
ngrok http 3001Ngrok will output a forwarding address for you. Copy and paste this address and add /payments-webhook to the end (this URL path has been configured for you already in main.wasp under the api paymentsWebhook definition). It should look something like this:
https://89e5-2003-c7-153c-72a5-f837.ngrok-free.app/payments-webhookGo to Configuration > Webhook and add a new Endpoint with the URL you got from previous step.
Select subscription.updated, subscription.created, subscription.cancelled, invoice.paid as events.
Deploying
Once you deploy your app, you can follow the same steps, just make sure that you are no longer in test mode within the UniBee Dashboard. After you’ve repeated the steps in live mode, add the new API keys and price/variant IDs to your environment variables in your deployed environment.